Support this website by becoming a sponsor. Get in
touch for more info.
Hello, Android & iOS
In this tutorial, we’re going to create a multiplatform project with Kotlin code running on both Android and iOS. Before starting, you’ll need to know the very basics of:
Kotlin. If you’re not familiar with Kotlin, you’ll have a hard time with Kotlin/Native. Give Kotlin Koans a go first!
Gradle. While it’s possible to use the command line tools, Gradle is the recommended build tool for Kotlin/Native,
and thus used throughout the tutorials on this website. Here’s a quick refresher in case you feel rusty.
Android and iOS app development.
Open Android Studio and create a new Empty Activity project. Make sure to include Kotlin support. Next, create a new directory called common in your project root. Open settings.gradle and add it to the list of includes, so it looks like this:
include':app',':common'
We’ve just created a new module named common. Sync the project.
Both app and common module require the Kotlin plugin, so adjust the root build.gradle. Move the buildscript closure into the allproject closure, so the script looks like this:
Sync and build the project to ensure nothing is broken.
The common directory will contain code shared between both platforms. To create a multiplatform module, we first need to tell Gradle about it. Following the docs, create a new file called build.gradle in the common directory, and add this:
applyplugin:'kotlin-multiplatform'kotlin{targets{finaldefiOSTarget=System.getenv('SDK_NAME')?.startsWith("iphoneos")\?presets.iosArm64:presets.iosX64fromPreset(iOSTarget,'iOS'){compilations.main.outputKinds('FRAMEWORK')}fromPreset(presets.jvm,'android')}sourceSets{commonMain.dependencies{api'org.jetbrains.kotlin:kotlin-stdlib-common'}androidMain.dependencies{api'org.jetbrains.kotlin:kotlin-stdlib'}}}// workaround for https://youtrack.jetbrains.com/issue/KT-27170configurations{compileClasspath}
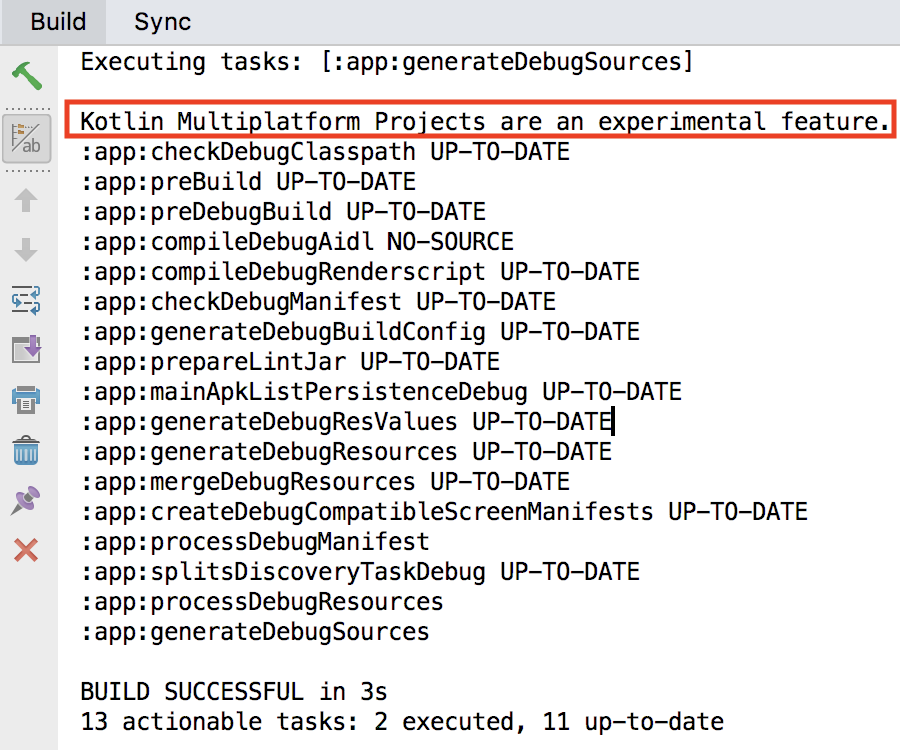
Ensure the sync is successful. If you check your build logs, you should see this:
which means Gradle recognized our multiplatform project. Just as every other Gradle plugin, the kotlin-multiplatform plugin expects source code in certain directories. Create a new file, common/src/commonMain/kotlin/Common.kt and add the following:
The code should look familiar, with the exception of one keyword: expect. It denotes a platform-specific declaration, where a common module expects all specified targets in build.gradle to implement it. Expected declarations are not restricted to methods, you can apply it to interfaces, classes, annotations, variables, etc.
The common/build.gradle has two platforms or targets: iOS and Android. Therefore the Kotlin/Native compiler expects both platforms to implement the platformName method, which is highlighted by this lint warning:
Let’s handle Android first. Create a new file: common/src/androidMain/kotlin/AndroidCommon.kt and add the following:
actualfunplatformName():String="Android"
Note the actual keyword - this is how you tell the compiler this is the actual implementation of the expected declaration. If you go back to the Common.kt file, the lint warning should now only complain about the common_iOSMain target, which means we’ve successfully covered one platform.
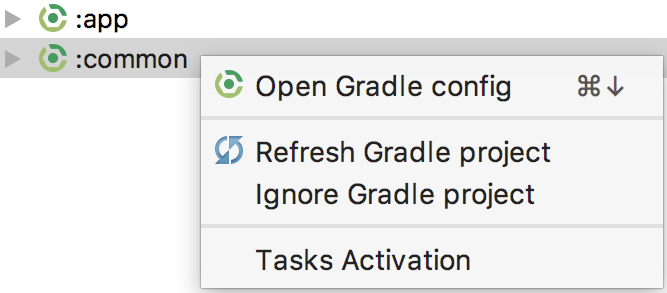
Now create a file common/src/iosMain/kotlin/IosCommon.kt. Before adding any code, make sure to open the Gradle tool window, and refresh the common module:
This ensures the common module knows about the external iOS libraries provided by Kotlin/Native. Finally, add some code:
Again, note the actual keyword. More importantly, check the import statement. We’re importing UIDevice, which wouldn’t be very interesting if it weren’t for the fact that UIDevice is part of UIKit, Apple’s framework for event-driven user interface for iOS and tvOS apps. As explained in the Kotlin/Native introduction, libraries such as UIKit are available out of the box, with a single import statement.
Checking Common.kt, all lint warning should now be gone. Our common module is ready to be consumed. Open app/build.gradle and add common as a project dependency:
Then, add an id to the TextView in activity_main.xml, perhaps something like android:id="@+id/hello". To avoid a quirky Android Studio behavior, build the project. Once successfully built, sync the app module. Then, open MainActivity.kt and update the TextView:
Run the app. Because common/src/androidMain/kotlin/AndroidCommon.kt specifies platformName to return "Android", we should be greeted with a Hello, Android message once the app is launched.
To use the common module on iOS, there are a few extra steps we need to take. First, add the following task to the common/build.gradle:
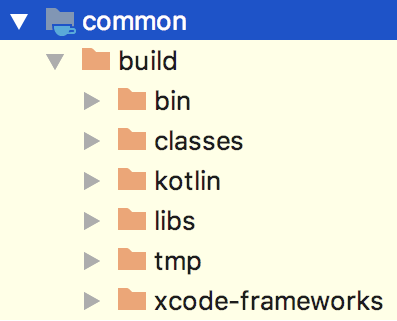
Sync, then rebuild the common project. Inspect the build folder once built, and ensure xcode-frameworks directory is in it.
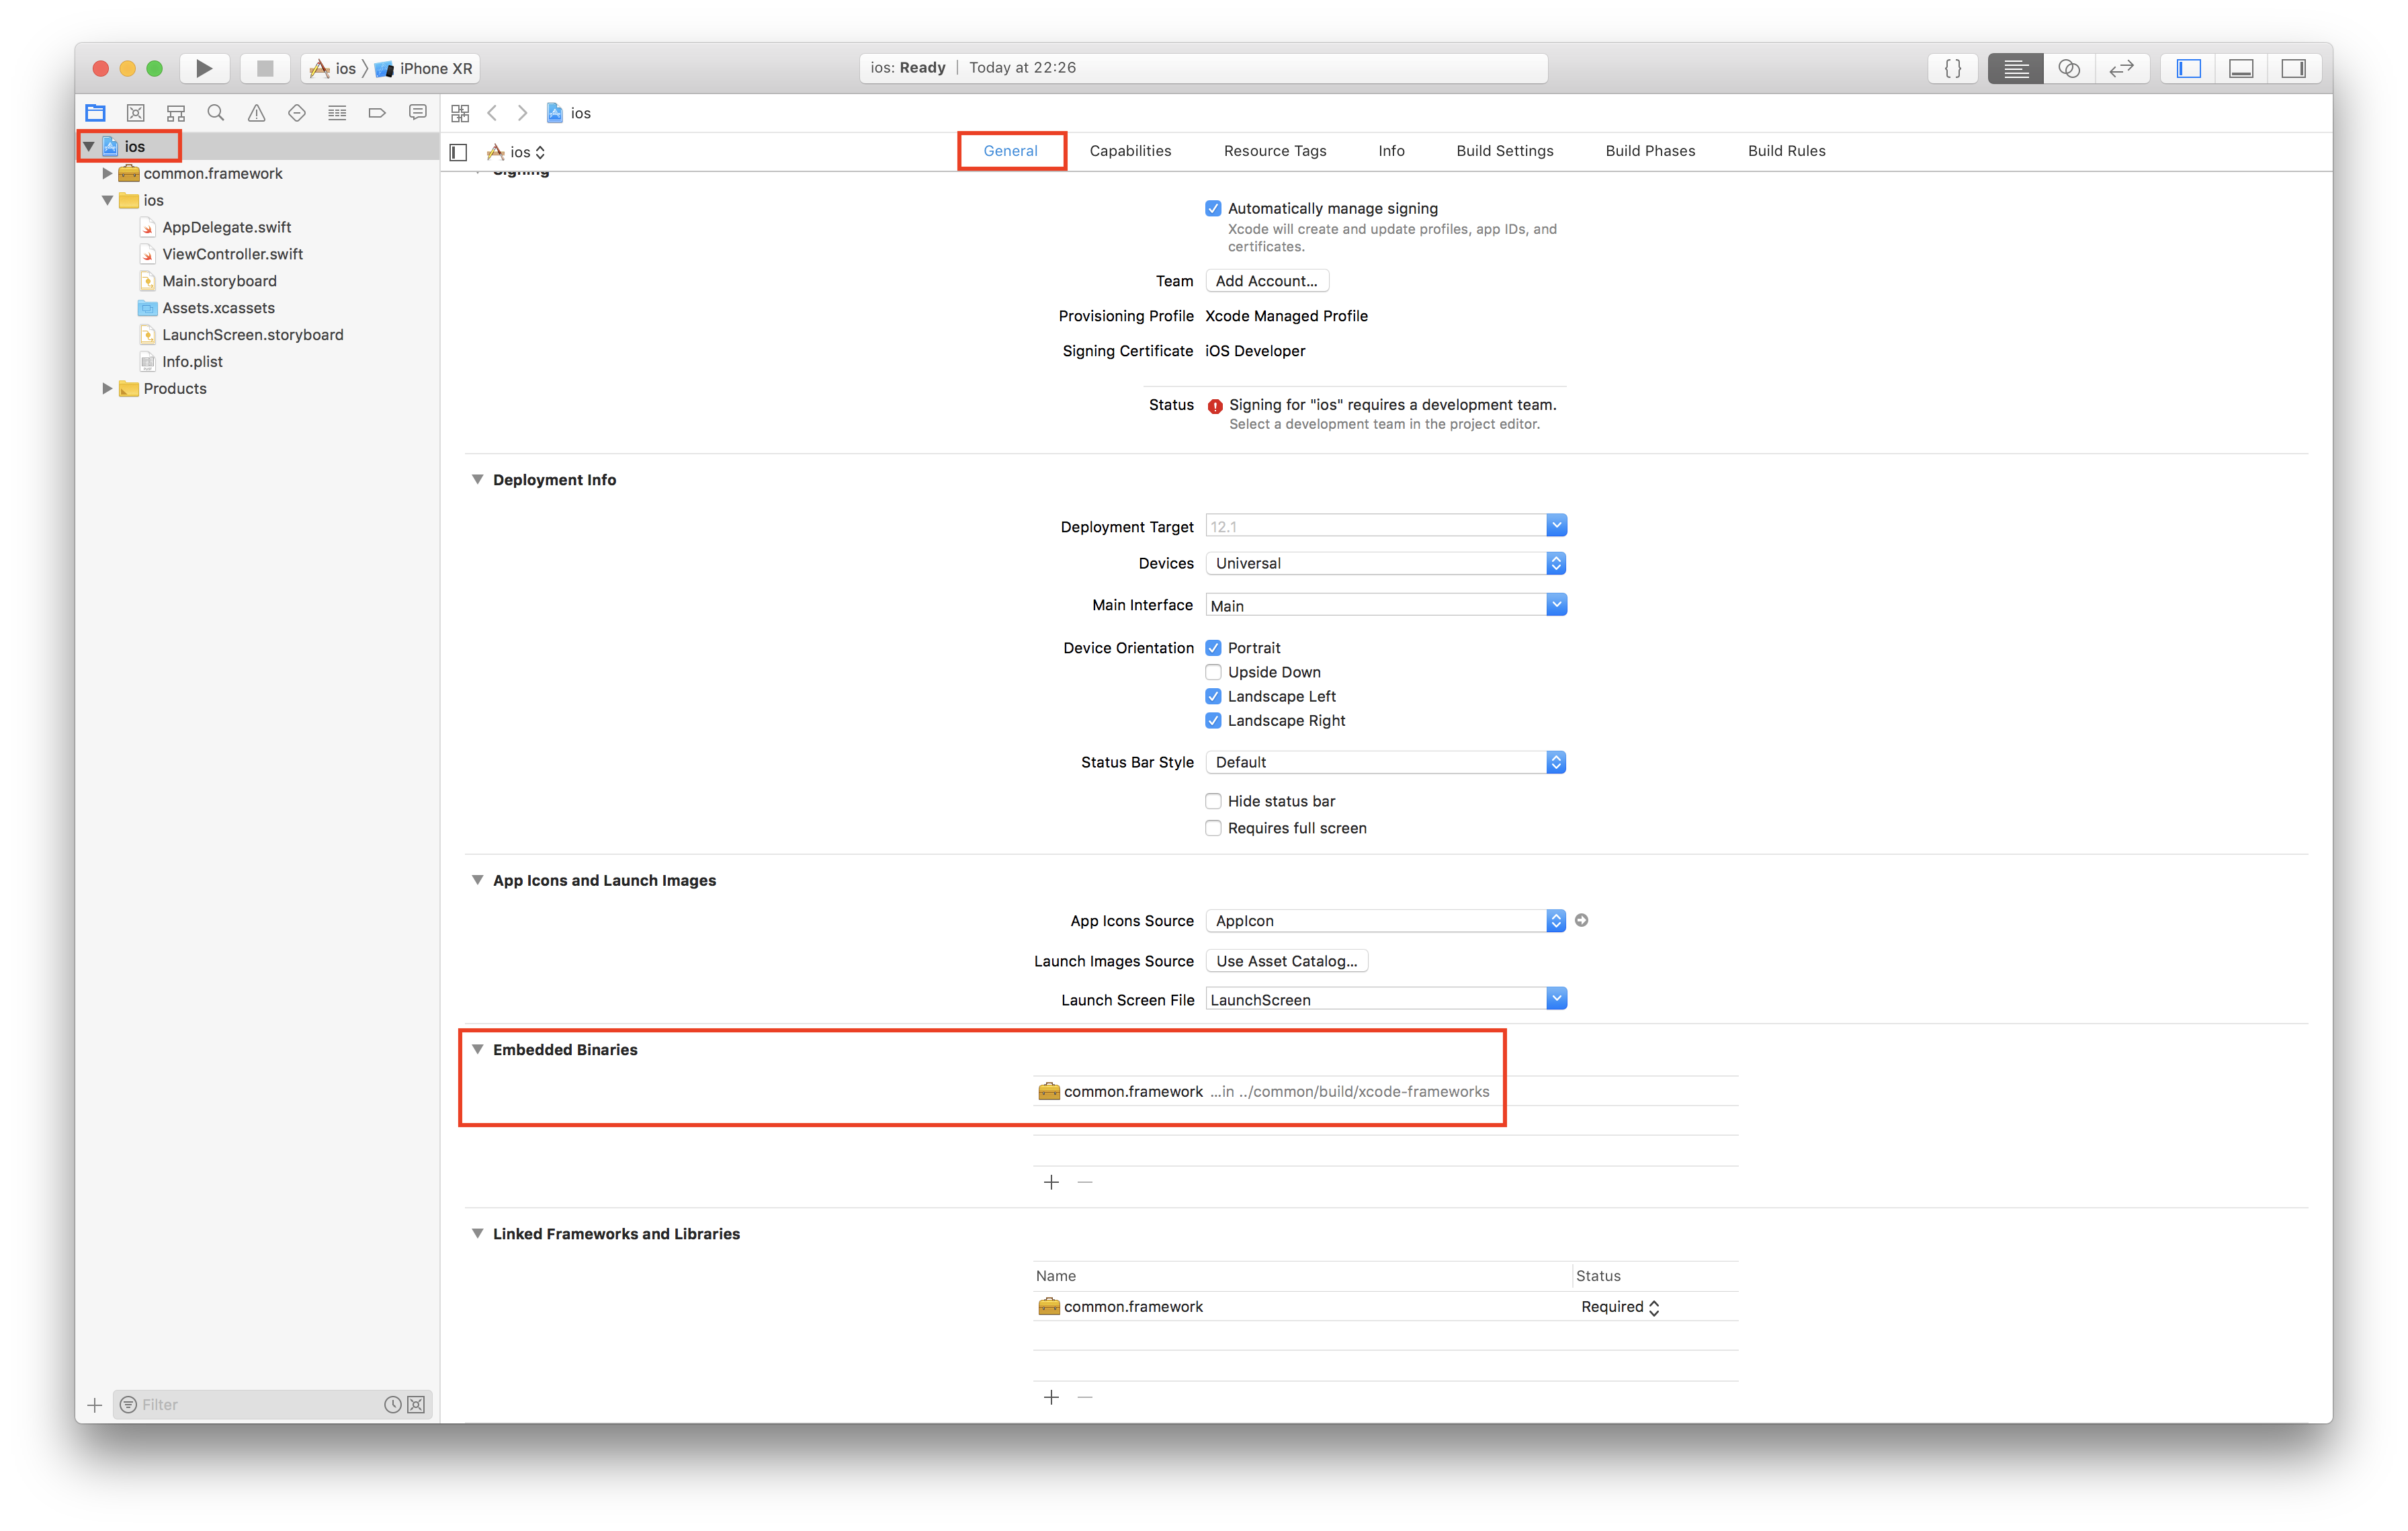
Next, create a new Xcode project. Choose a Single View app, let the product name be e.g. ios, and select the Android project root as the directory for the source code. Then add the xcode-frameworks/common-framework as an embedded binary:
Because Kotlin/Native produces native binaries and not LLVM bitcode, we need to tell that to Xcode:
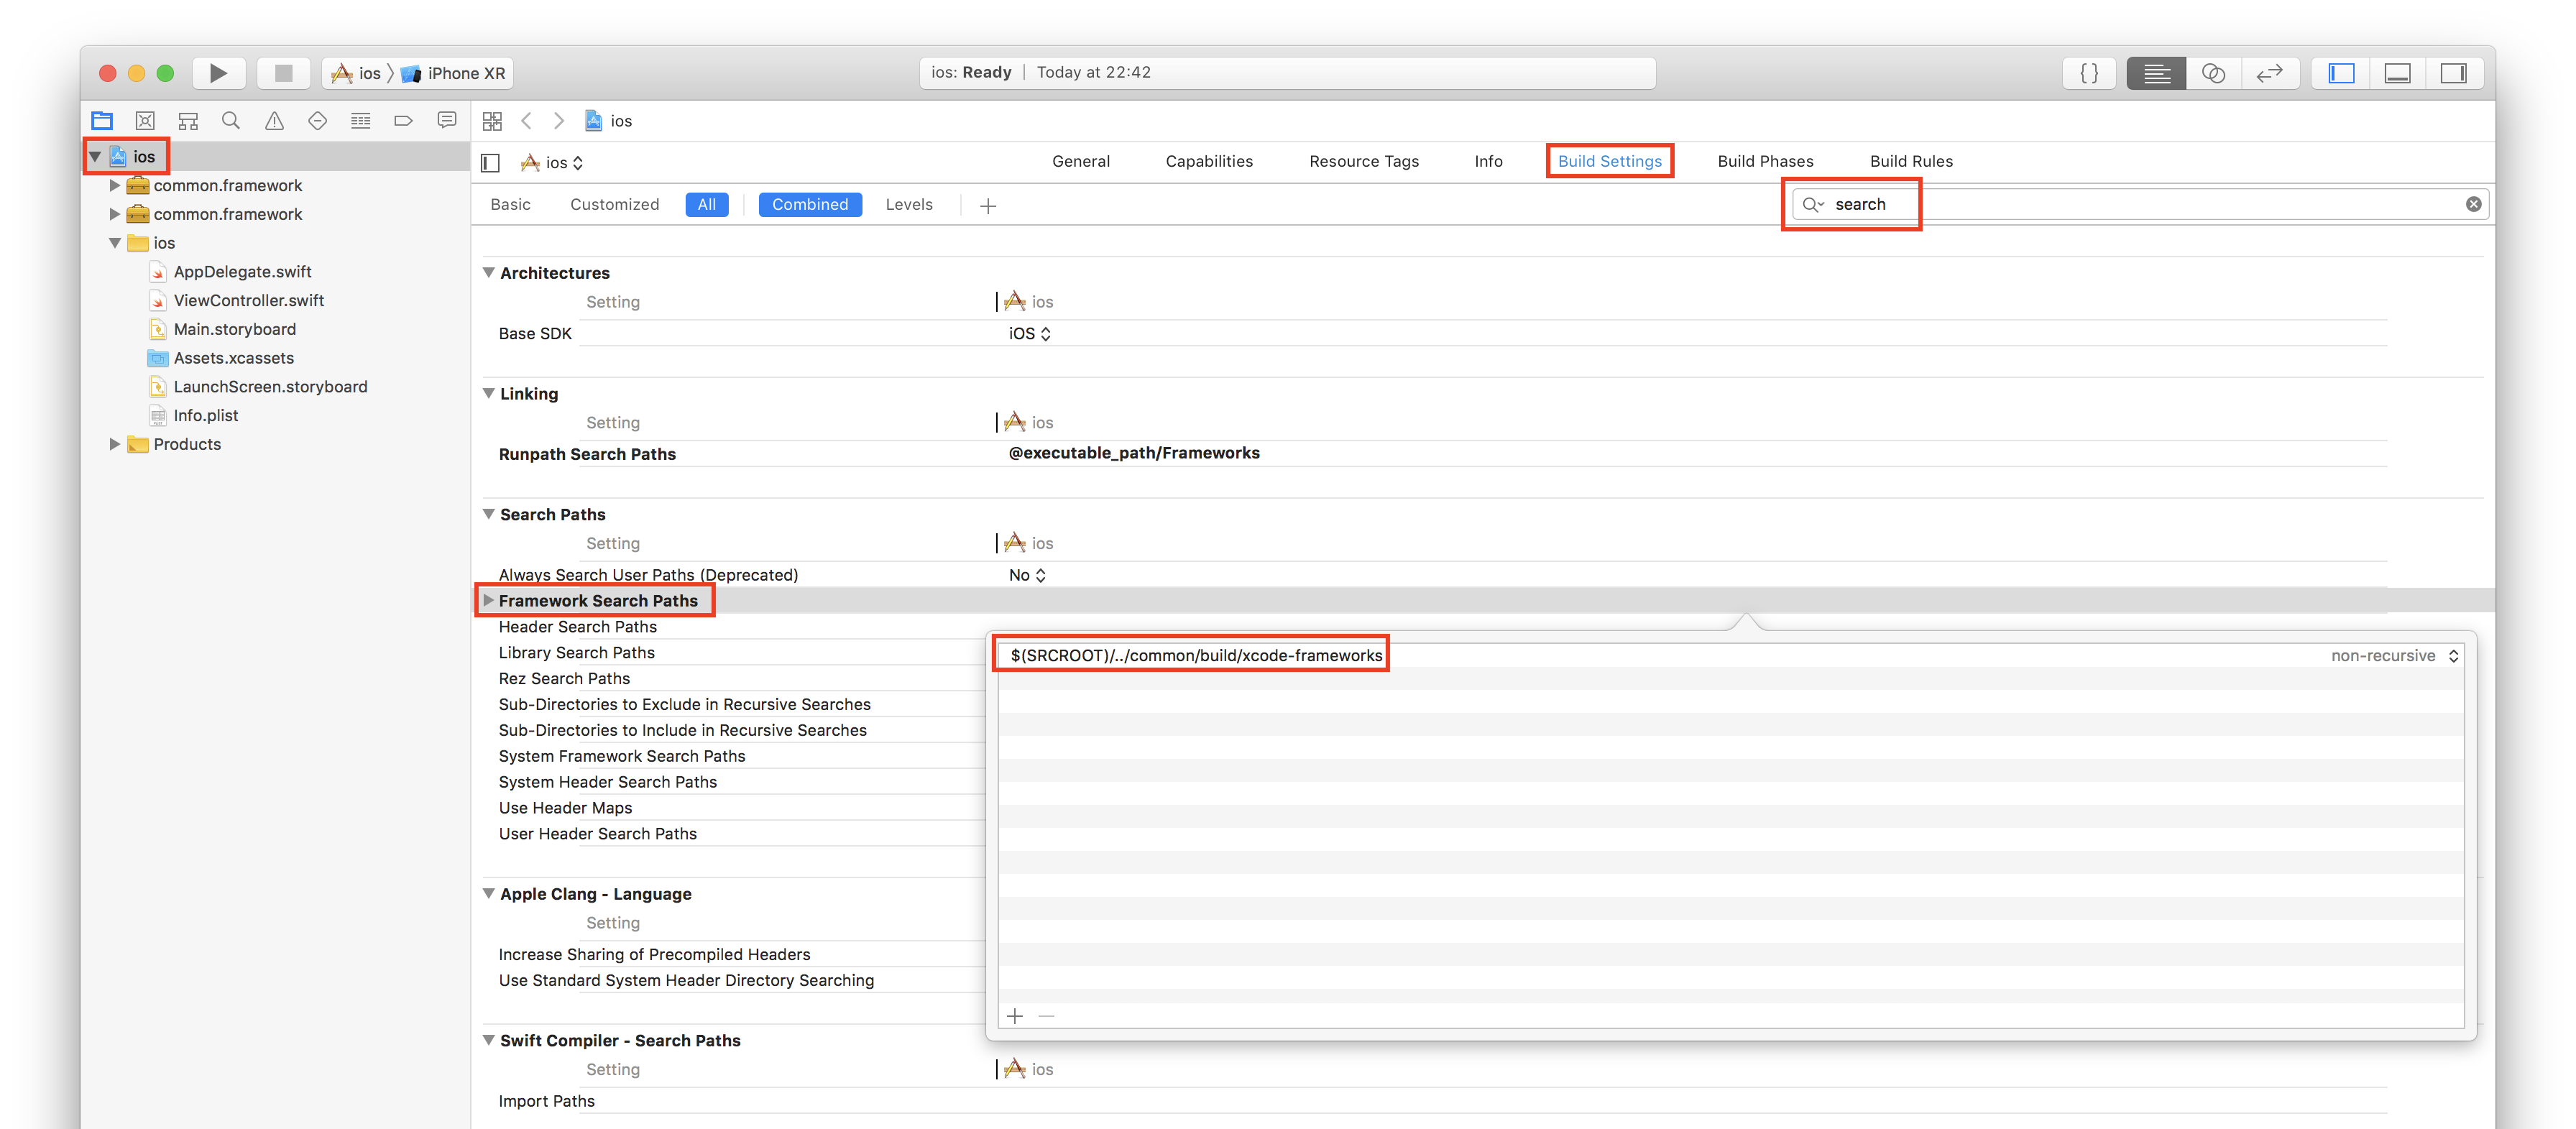
Now we need to - again - tell Xcode where to look for frameworks. This should be a relative path from ios root directory to the xcode-frameworks directory, for example: $(SRCROOT)/../common/build/xcode-frameworks.
Finally, go to Build Phases, add a New Run Script Phase, drag it all the way to the top, and add the following code:
Note the import common statement. This is the actual common module we created at the beginning of this tutorial, using nothing but Kotlin. Also, CommonKt.sayHello() should be familiar - it’s the method we defined in the Common.kt class.
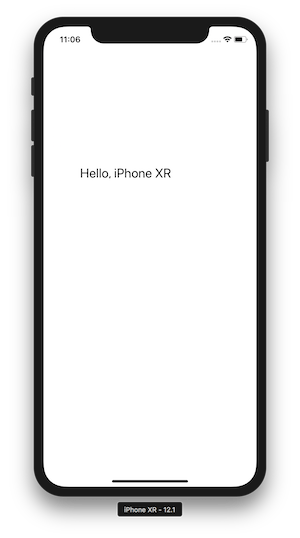
Running the project on an iPhone XR iOS Simulator, the result is - unsurprisingly - a "Hello, iPhone XR" greeting: